


How to Use an Audio Interface

An audio interface is the bridge between your instruments and your computer. Whether you’re recording guitar, vocals, or a full band, getting the setup right makes all the difference to your sound quality.
1. Connect & Set Up
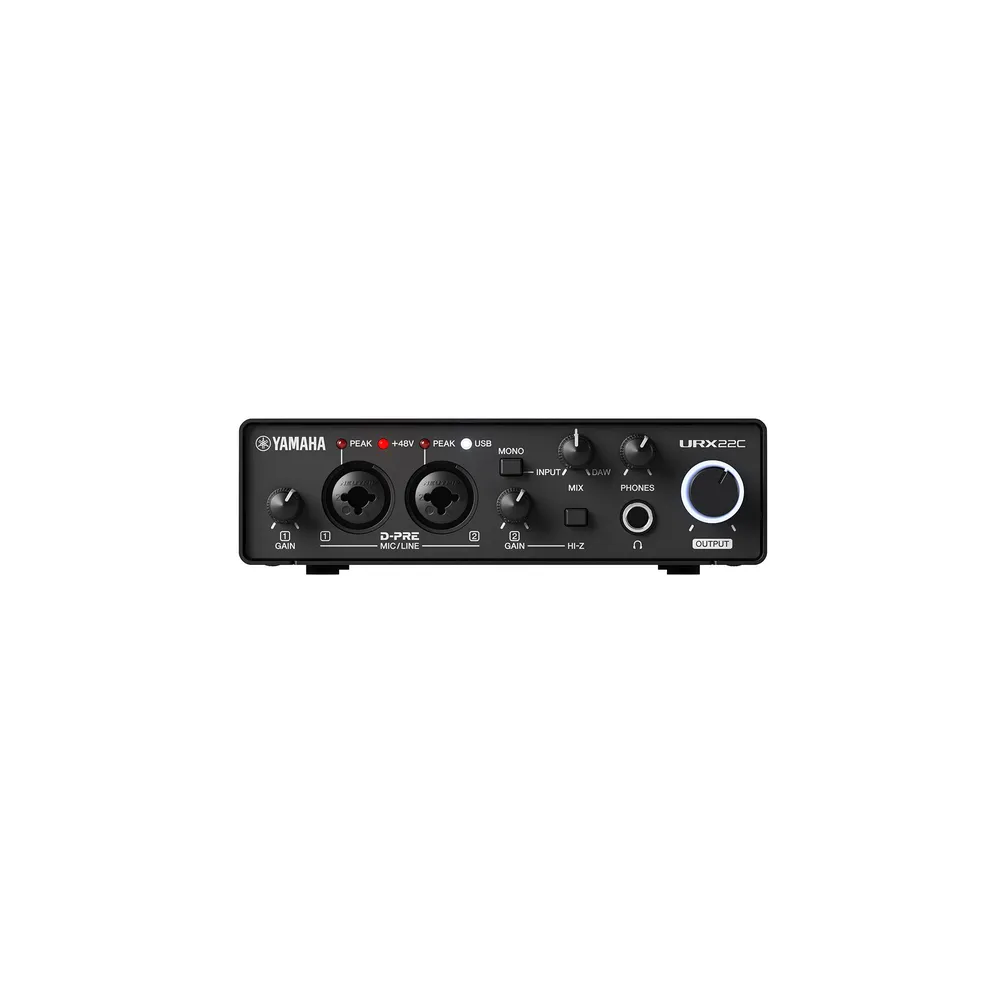
Plug your interface (e.g Yamaha URX22C ) into your computer via USB or Thunderbolt. Install the driver if required, then set it as your default audio device in your system settings or DAW. Most modern interfaces are plug-and-play.
2. Dial In Your Levels
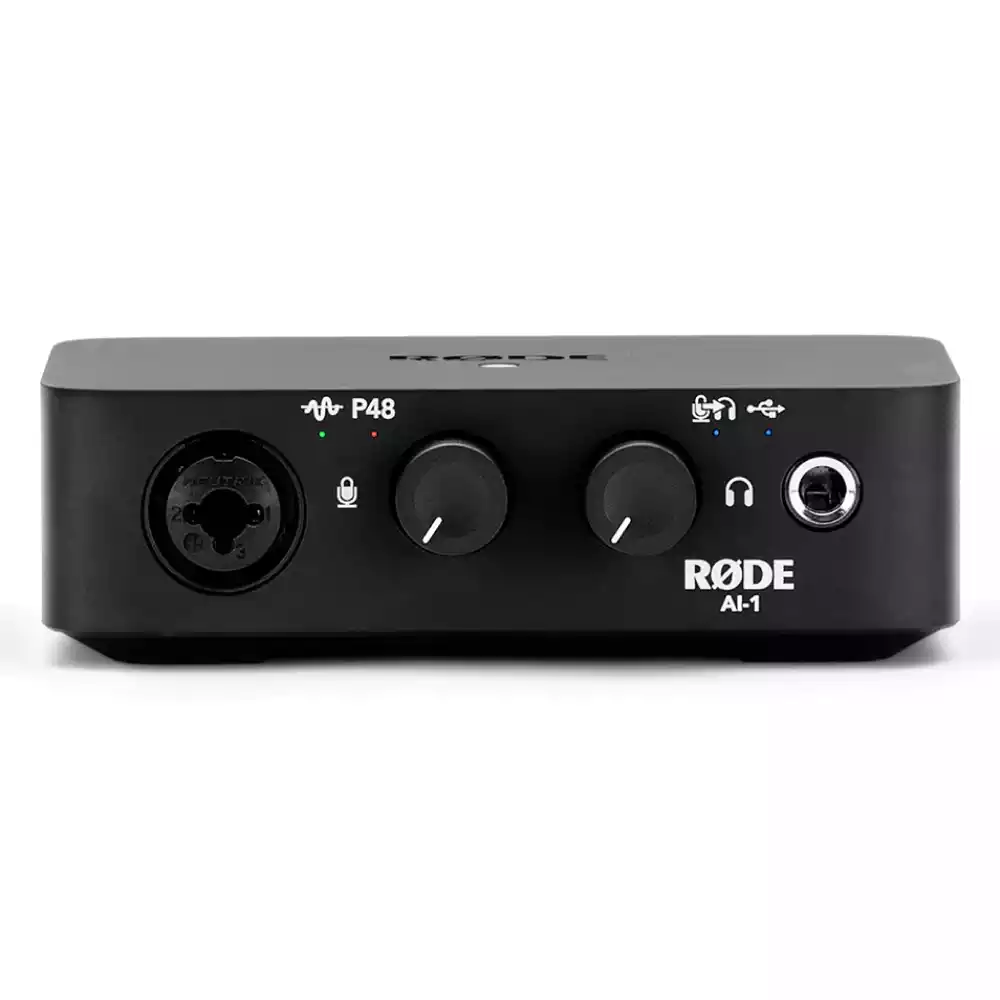
Plug your microphone or instrument into the XLR or jack input. Turn the gain knob until your signal is strong but not clipping — aim for the green zone on the level meter. Enable phantom power (48V) if you’re using a condenser microphone.
3. Monitor & Record
Use the mix or monitor knob to blend your live input with your DAW playback. Hit record, and you’re capturing studio-quality audio from home.